Getting Started
In this 5-minute tutorial, you'll build an AI agent that can analyze customer feedback, identify complaint trends, compare user segments, and surface actionable insights.
Prerequisites
You'll need a Seclai account. If you don't have one, sign up at seclai.com. If you already have an account, make sure you're logged in before continuing.
What You'll Build
By the end of this tutorial, you'll have an AI agent that can answer questions like:
- "Compare the concerns of Enterprise users vs Free users"
- "Which bugs should we prioritize fixing based on severity and frequency?"
- "Write a summary for our product team about what we should address first"
The agent doesn't just retrieve text, it analyzes the feedback to generate insights you can act on.
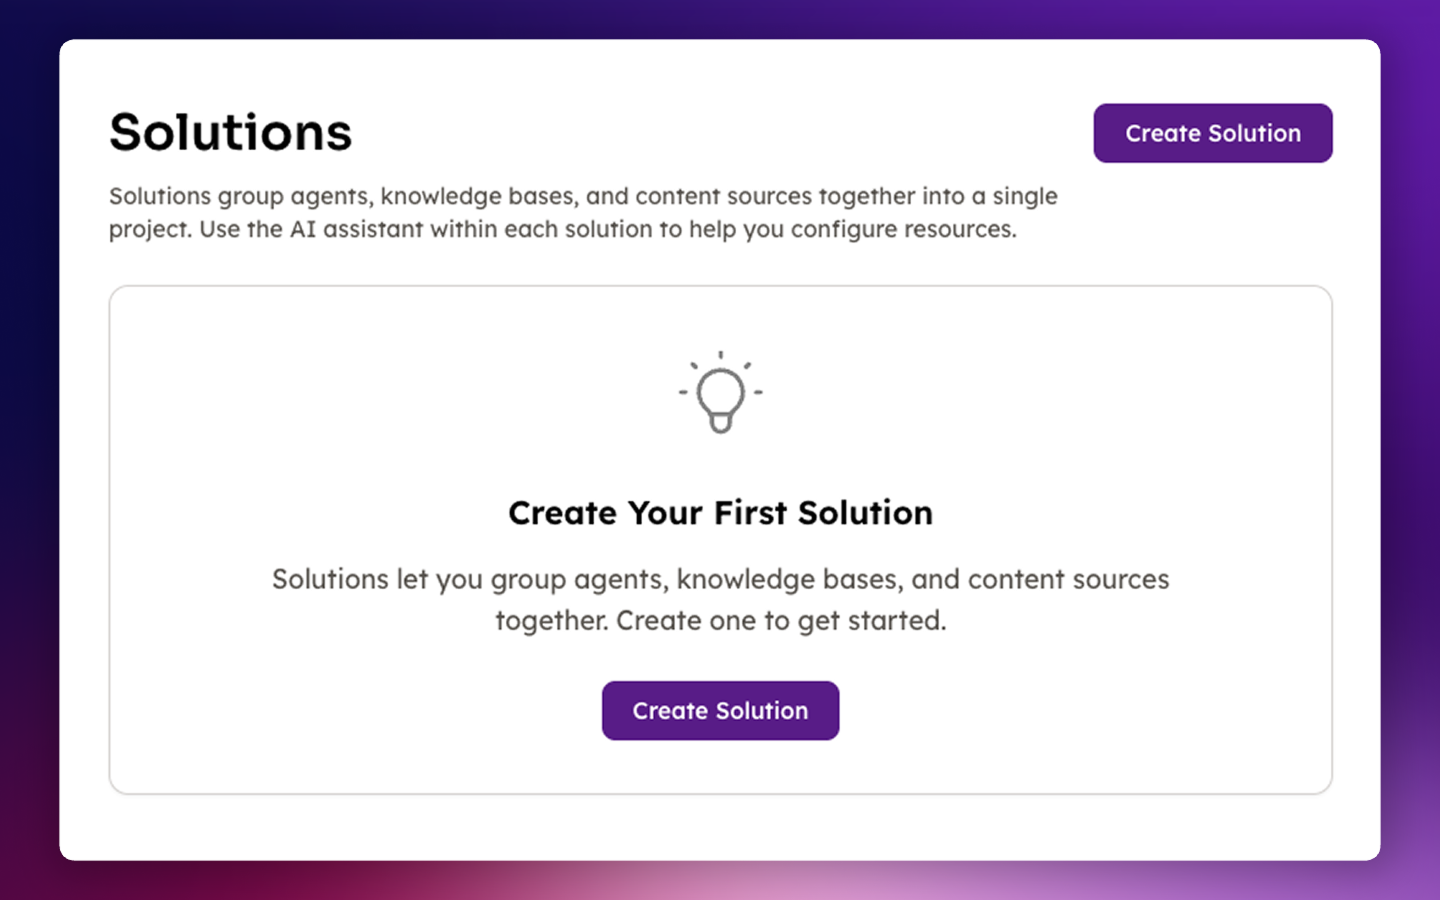
Step 1: Create a Solution
Solutions group related agents, knowledge bases, and content sources together. We'll use Seclai's AI assistant to help set up everything you need.
- Navigate to Solutions in the left sidebar.
- Click Create Solution.
-
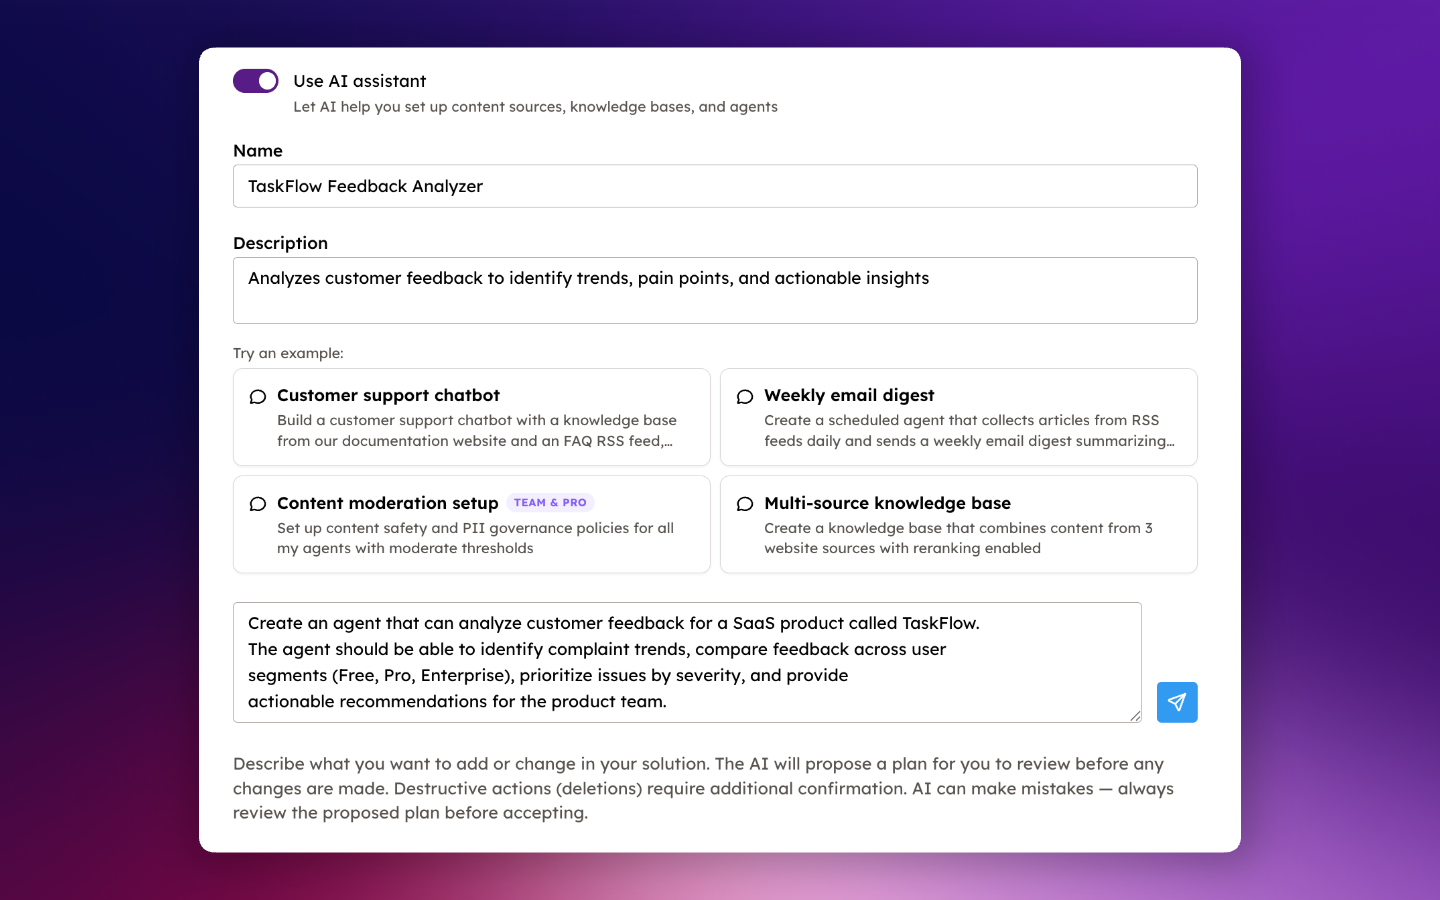
Make sure Use AI assistant is enabled (toggle should be on).
-
Enter the following:
Name:
TaskFlow Feedback AnalyzerDescription:
Analyzes customer feedback to identify trends, pain points, and actionable insightsAI assistant prompt:
Create an agent that can analyze customer feedback for a SaaS product called TaskFlow.
The agent should be able to identify complaint trends, compare feedback across user
segments (Free, Pro, Enterprise), prioritize issues by severity, and provide
actionable recommendations for the product team.
-
Click the send icon () to submit your request. It might take a few seconds to process.
-
Review what the AI assistant came up with. If you want to change anything, you can add it in the text box below that section. Otherwise, click Accept & Execute and it will create the plan.

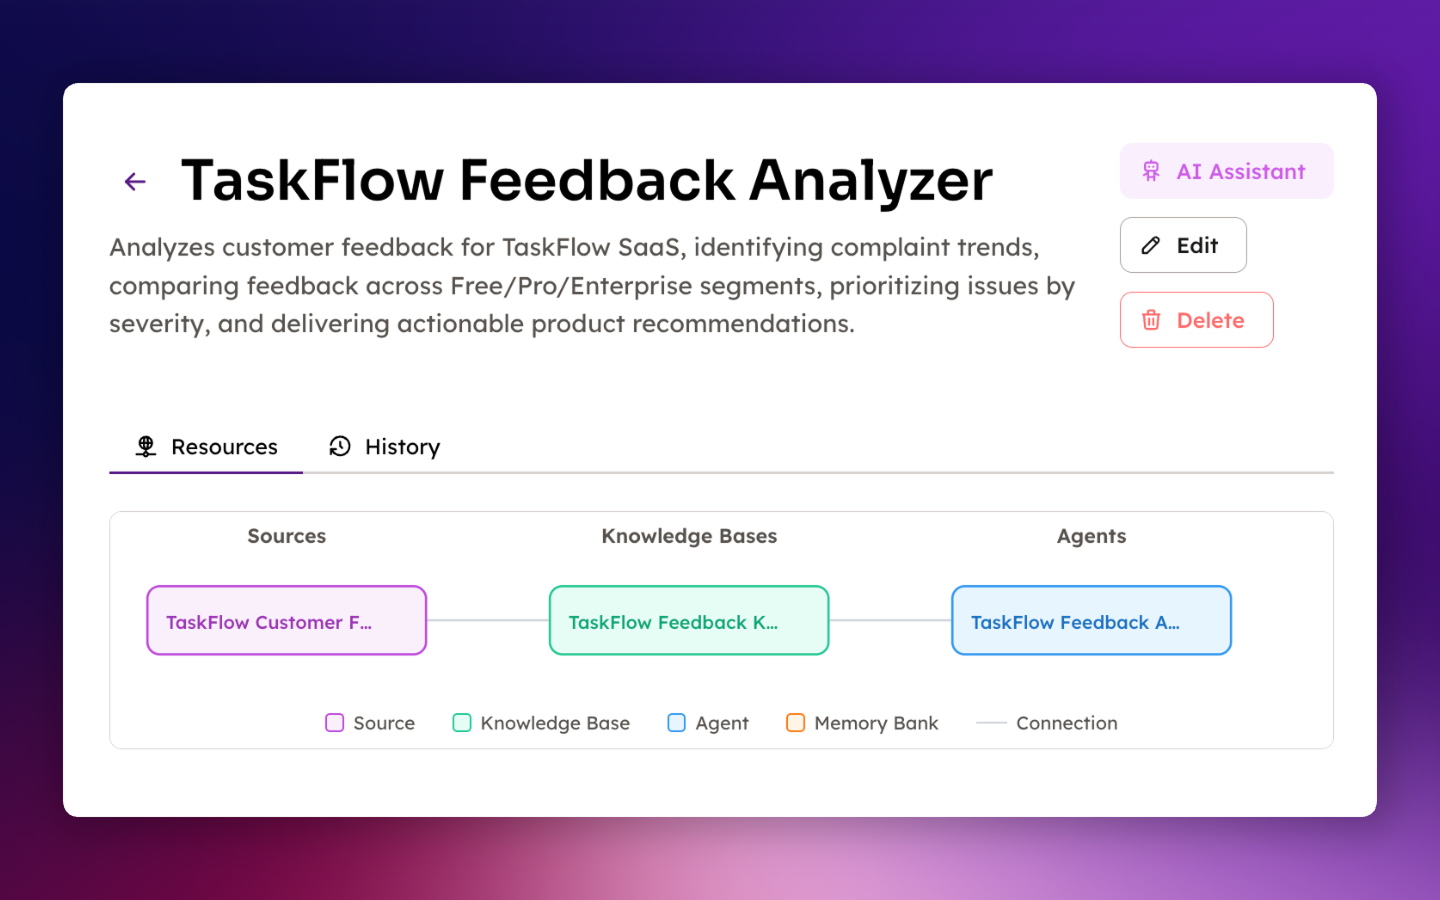
- Once complete, the AI creates a pipeline with the components you need. Click into the solution to view and customize it.
Step 2: Add a Content Source
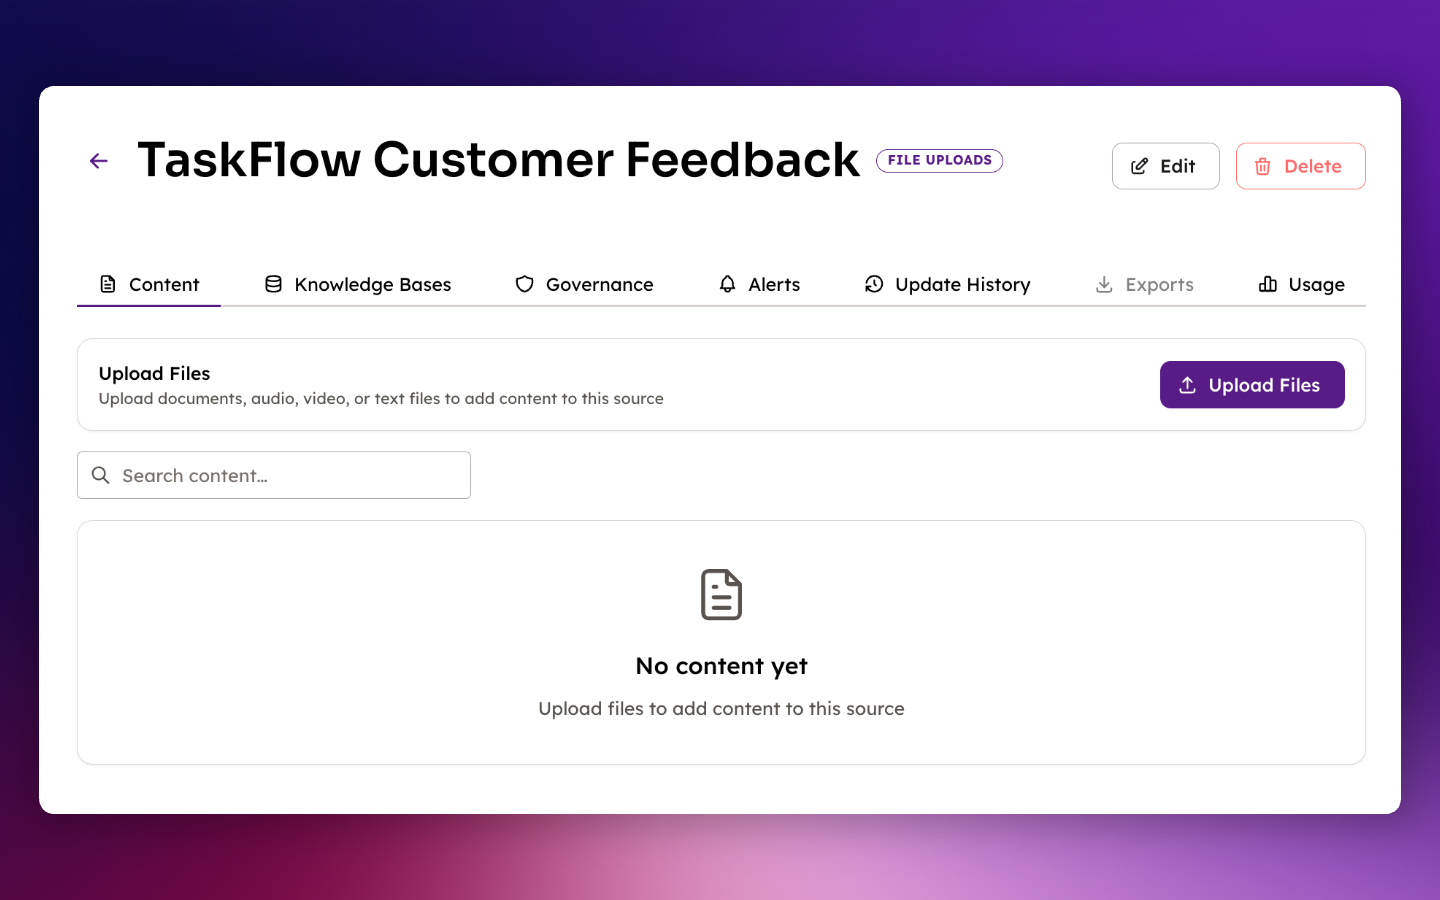
The AI assistant has created your solution structure, including a content source named TaskFlow Customer Feedback (or a close variant, since AI-generated names can differ slightly). Next, let's add the sample data to that source.
For this tutorial, we'll use sample customer feedback from a fictional SaaS product called TaskFlow (a project management tool). The sample includes 50 pieces of feedback across different user tiers, categories, and sentiment levels. In a real scenario, you'd upload your own data or connect to RSS feeds and websites.
-
Download the sample feedback file
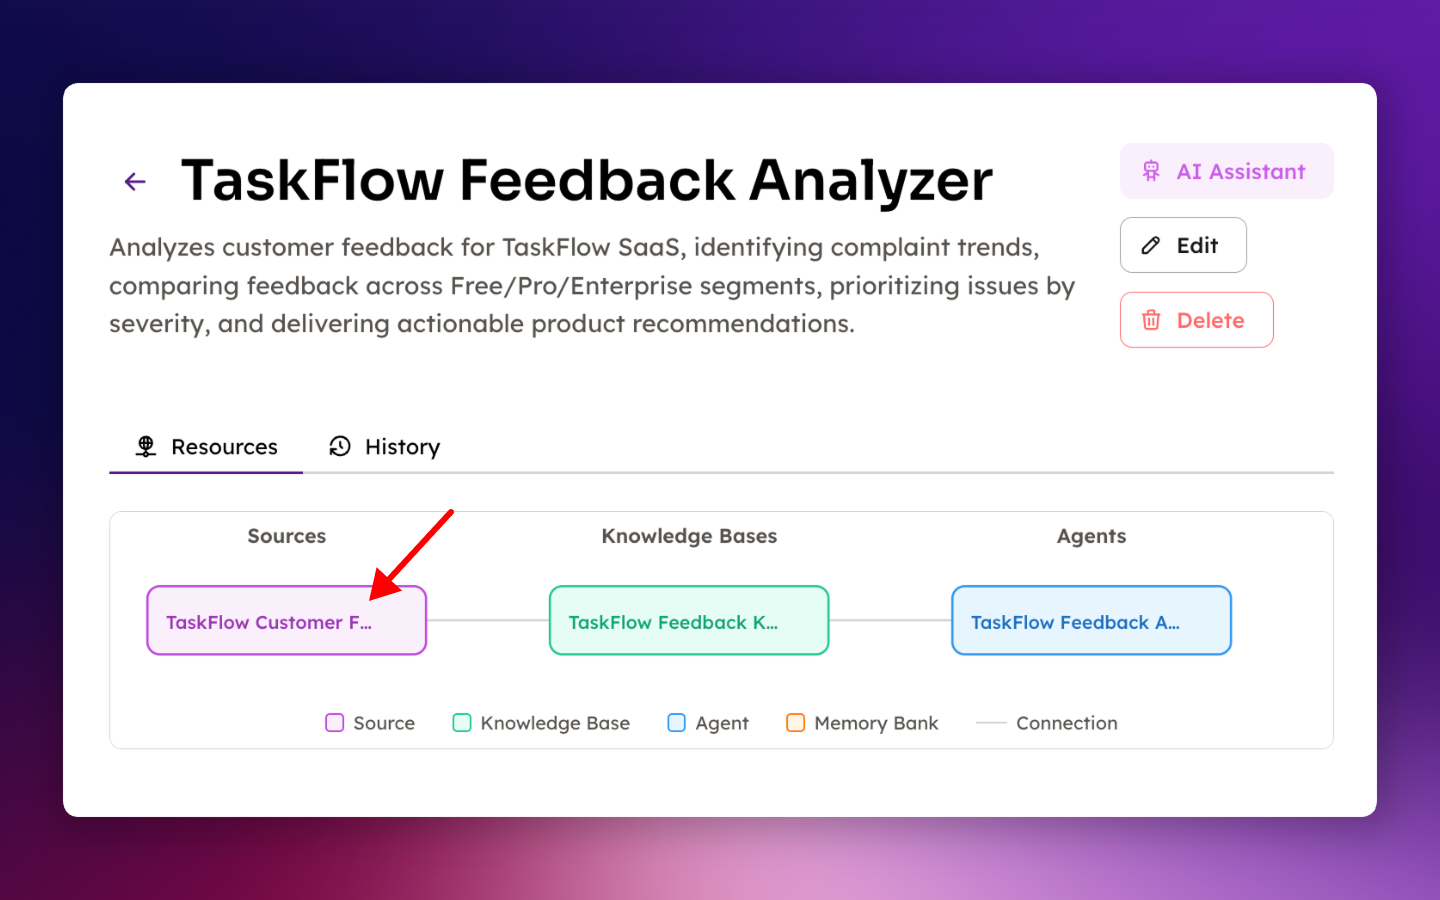
and save it somewhere easy to access, since we'll use it again in a moment. - In the solution pipeline, click on the Sources box to navigate to the content source page for TaskFlow Customer Feedback.
- Click Upload Files and select the file you downloaded in step 1.
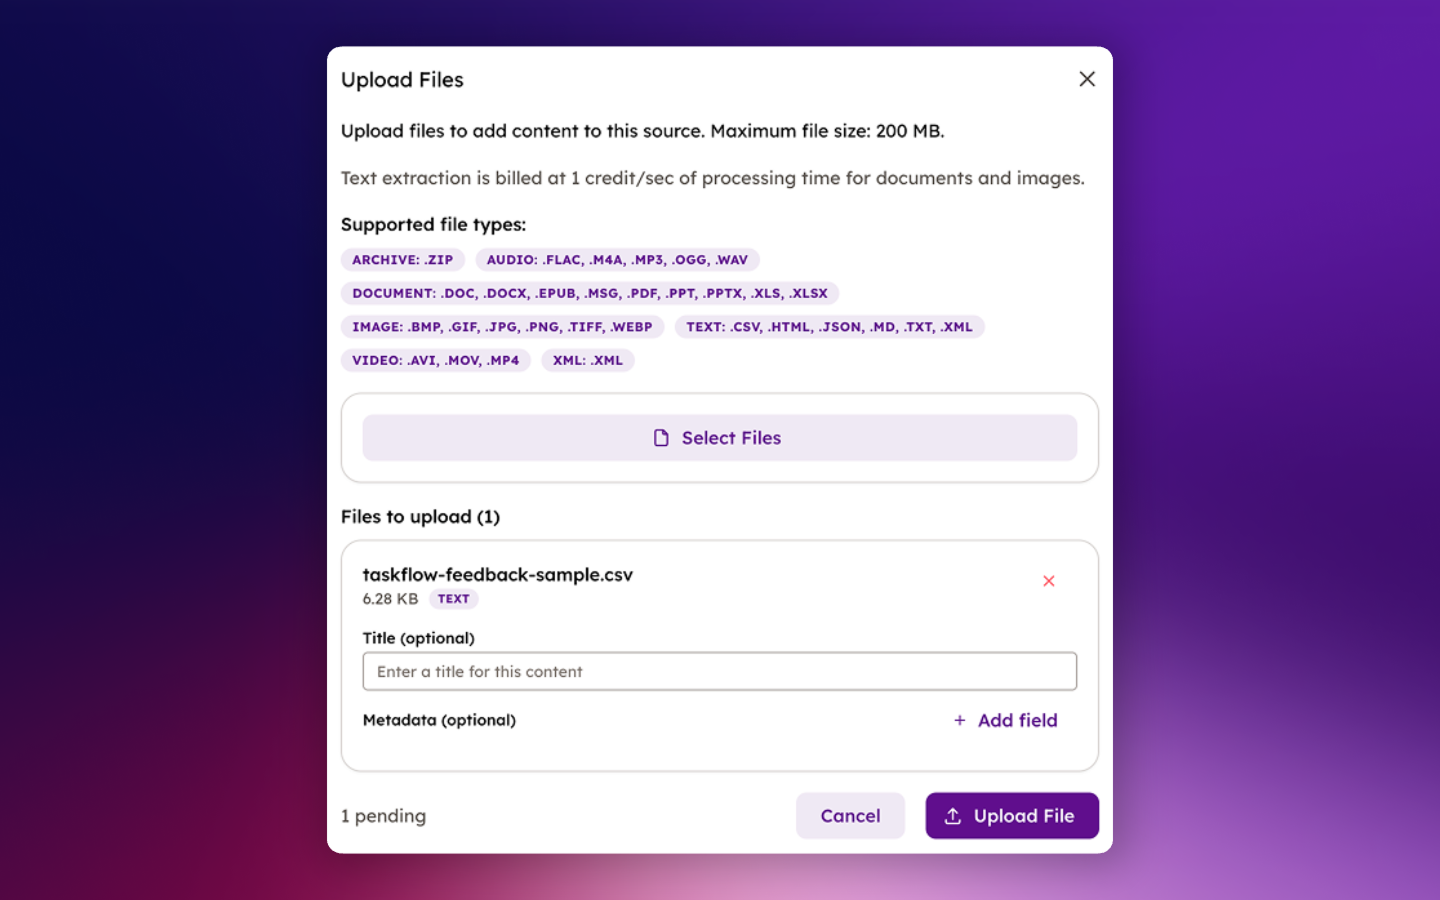
- Once uploaded, the file will be processed automatically. When complete, you'll see the file with a COMPLETED status.
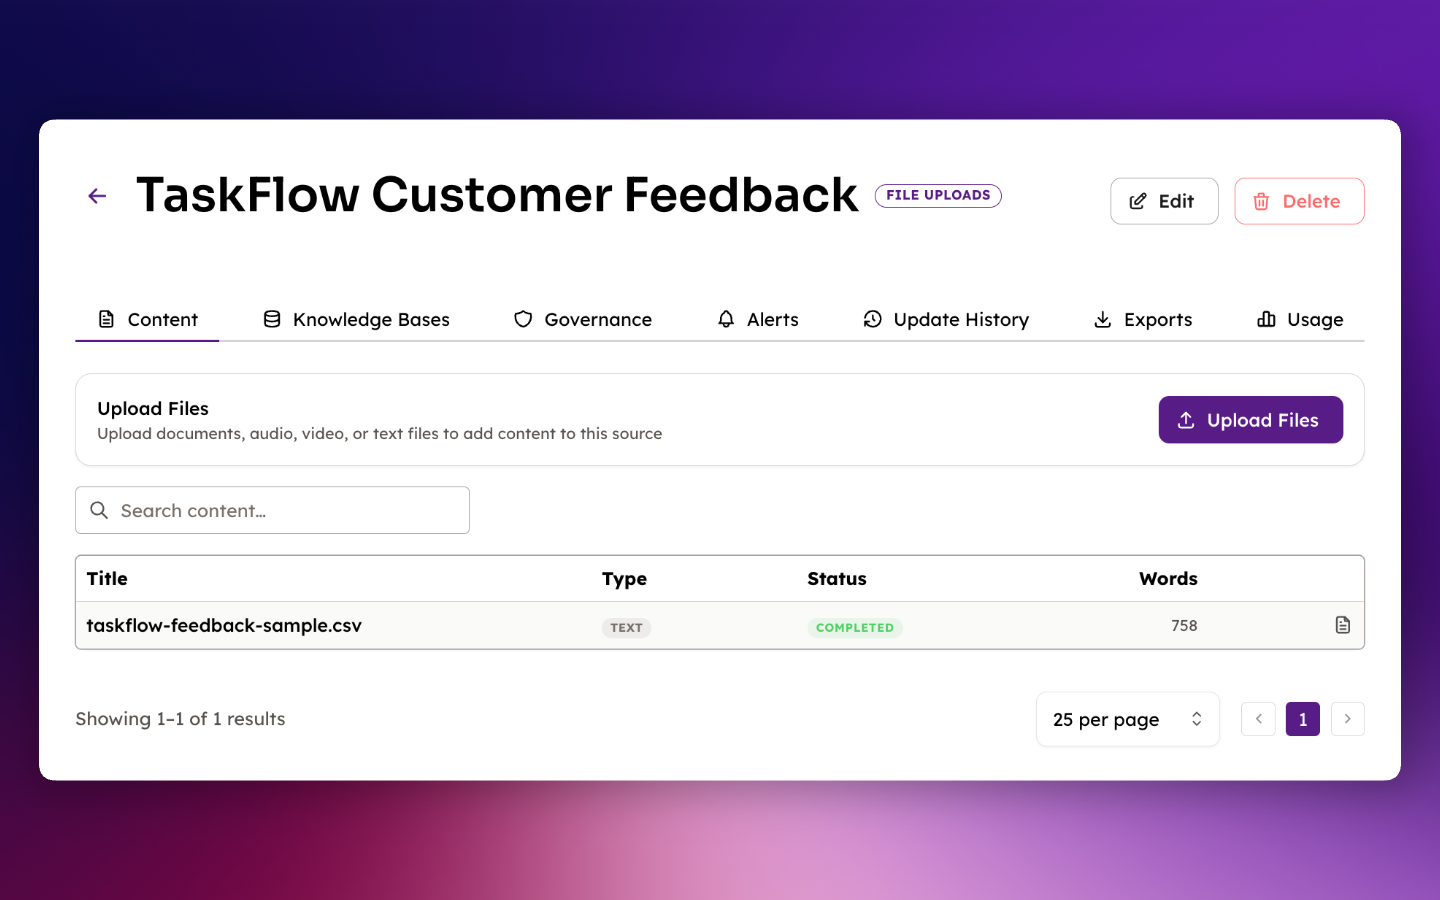
- Congratulations, you've just added your first content source! Your data is now indexed and ready for your agent to analyze. Let's put it to work.
Step 3: Run your Agent
Your agent is ready. Let's test it with some analytical questions that demonstrate its capabilities.
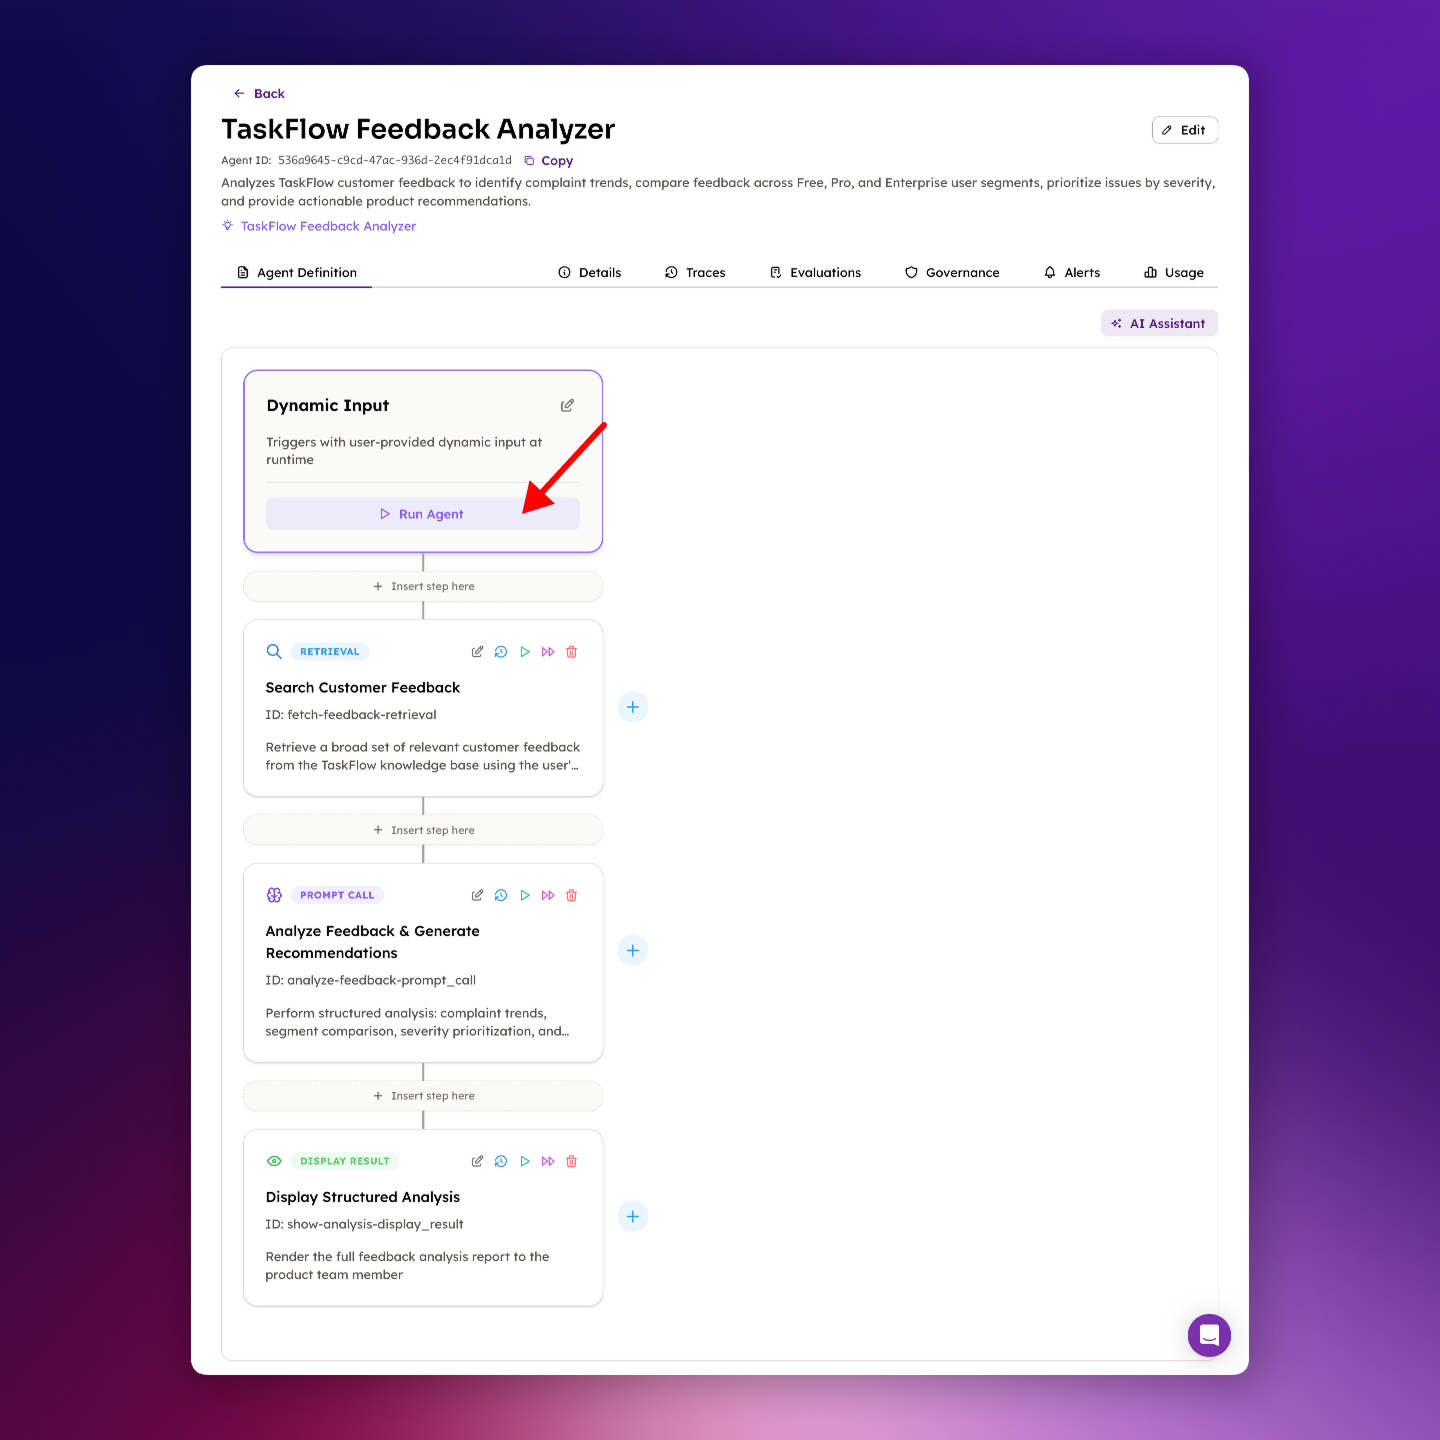
- Go back to the Solutions tab, then click the Agents option.
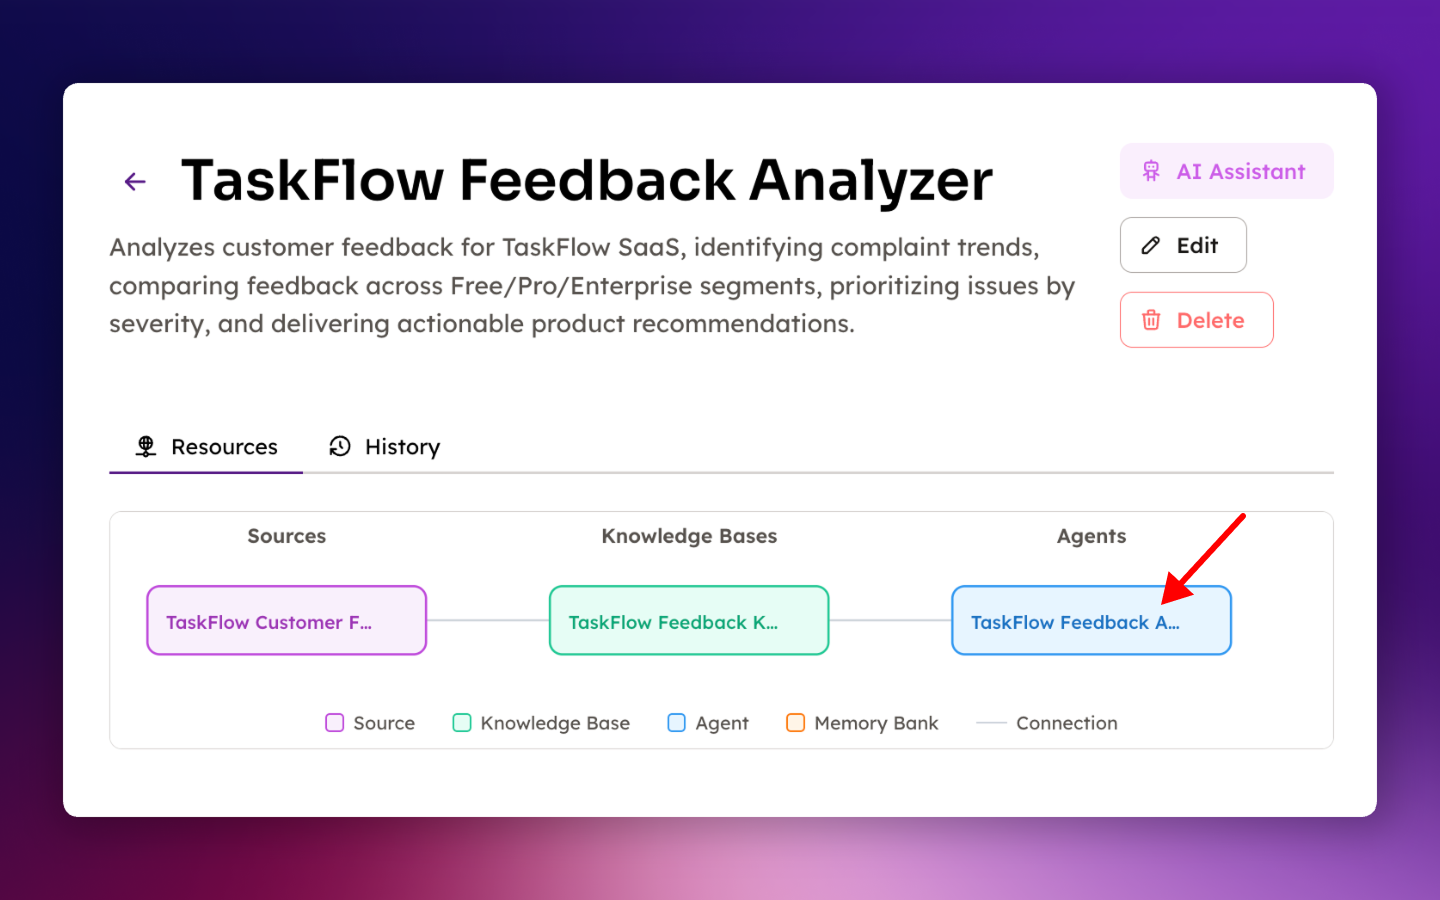
- You should now see the agent the AI assistant created (the exact name may vary slightly). Click the Run Agent button.
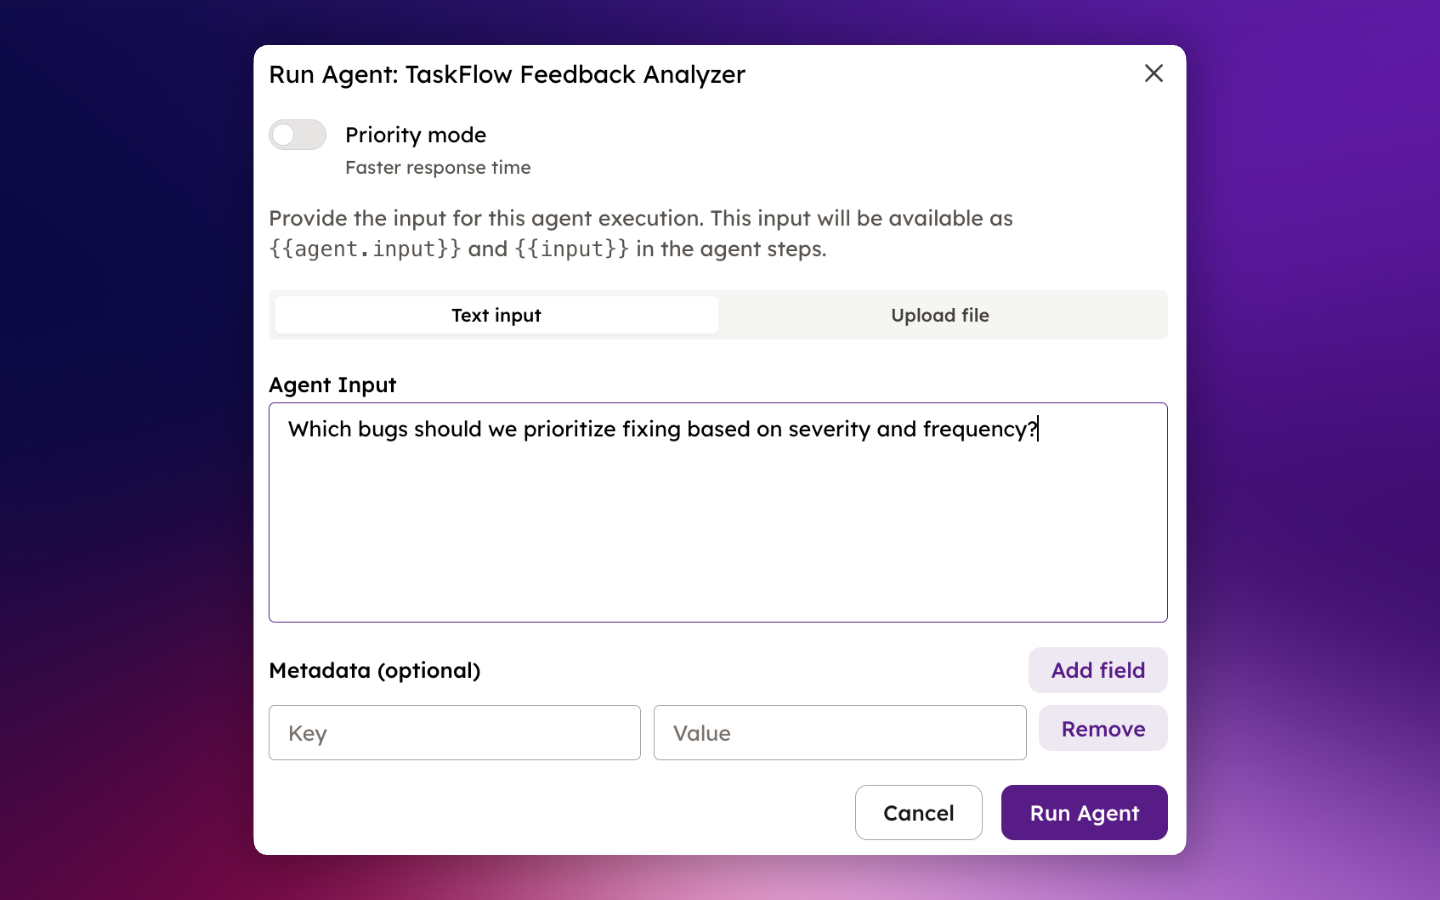
- You should now see the Run Agent modal. This is where you'll enter the question you want the agent to answer. Paste this question into Agent Input:
Which bugs should we prioritize fixing based on severity and frequency?
-
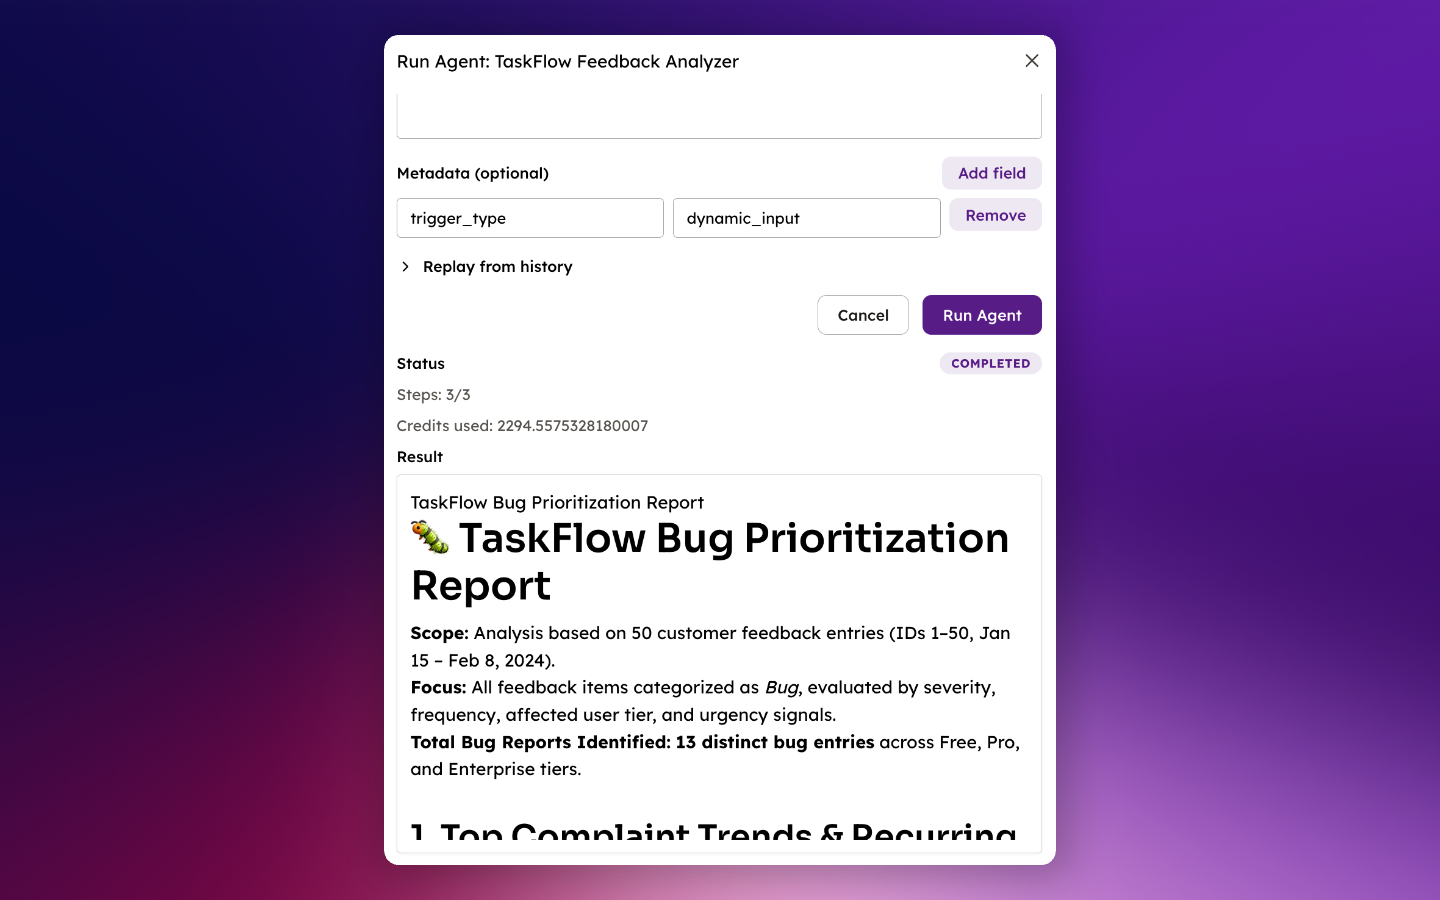
Click Run Agent. The run should take a few minutes.
-
When the run completes, you should see a response that summarizes the most severe and frequent bugs, calls out patterns, and gives clear prioritization recommendations.
- You have successfully run your agent. Save the Agent ID from the page header, then refine your prompt and integrate with SDKs or webhooks.
Next Steps
- Agents — Learn how to configure your agent for production use
- Agent Traces — Inspect run history, step outputs, errors, and credit usage
- Agent Triggers — Run agents on schedules or events
- Agent Evaluations — Monitor output quality and reliability
- API Examples — Copy-ready integration patterns
- Troubleshooting — Fix common setup and runtime issues